DIY Farm Garden Automation with Arduino and APDuino Project Circuit Diagram To take your smart garden system a step further, you can add remote monitoring capabilities using a Wi-Fi module like the ESP8266. This allows you to check the status of your garden from anywhere. Connect the ESP8266 to the Arduino. Use the Arduino IDE to upload code that connects to your Wi-Fi network and sends data to a web server or cloud If you are new to the Arduino Cloud, please refer to the Getting Started Guide or visit the full documentation to learn more about the service. Begin by navigating to the Arduino Cloud. You will need to have a registered account with Arduino to use it. Follow the steps below to set up the Arduino Cloud. 1. Then, go to the 'Dashboard' and create a new dashboard, then enter to the dashboard and add 4 blocks, using the plus sign at the right of the page: 1. Add a Line Chart block, then choose SoilMoisture feed, determine that the minimum value is 0 and the maximum is 1100.
my power supply adapter the 12V 2A is enough to run the arduino, led, fan and water pump. 4) connecting the relay to the arduino . Relay Arduino. GND ----- GND. DATA ----- 13. VCC ----- 5V. Led should be connected to the NO terminal and ground in the relay 6. Upload the code. When successful, you can navigate over to the "Dashboards" section. Create a new dashboard. 7. Inside the dashboard view, click on "Add" then "Things" and select your Thing. This will generate a list of widgets and you can click on "Create Widget" to complete it. You should now see something similar to this dashboard: arduino. 1 2 #include < SFE_BMP180. h > 3 #include < Wire. h > 4 SFE_BMP180 pressure; 5 #define ALTITUDE 88.0 // 6 7 //relays 8 #define pinRelayHeater 2 9 #define pinRelayIrrigation 3 10 #define pinRelayFan 4 11 12 //analog humidity sensor 13 #define pinHumidity A0 14 15 // Values 16 #define heaterThreshold 9 17 #define fanThreshold 30 18 #
IoT Smart Garden Setup with MKR IoT Carrier Circuit Diagram
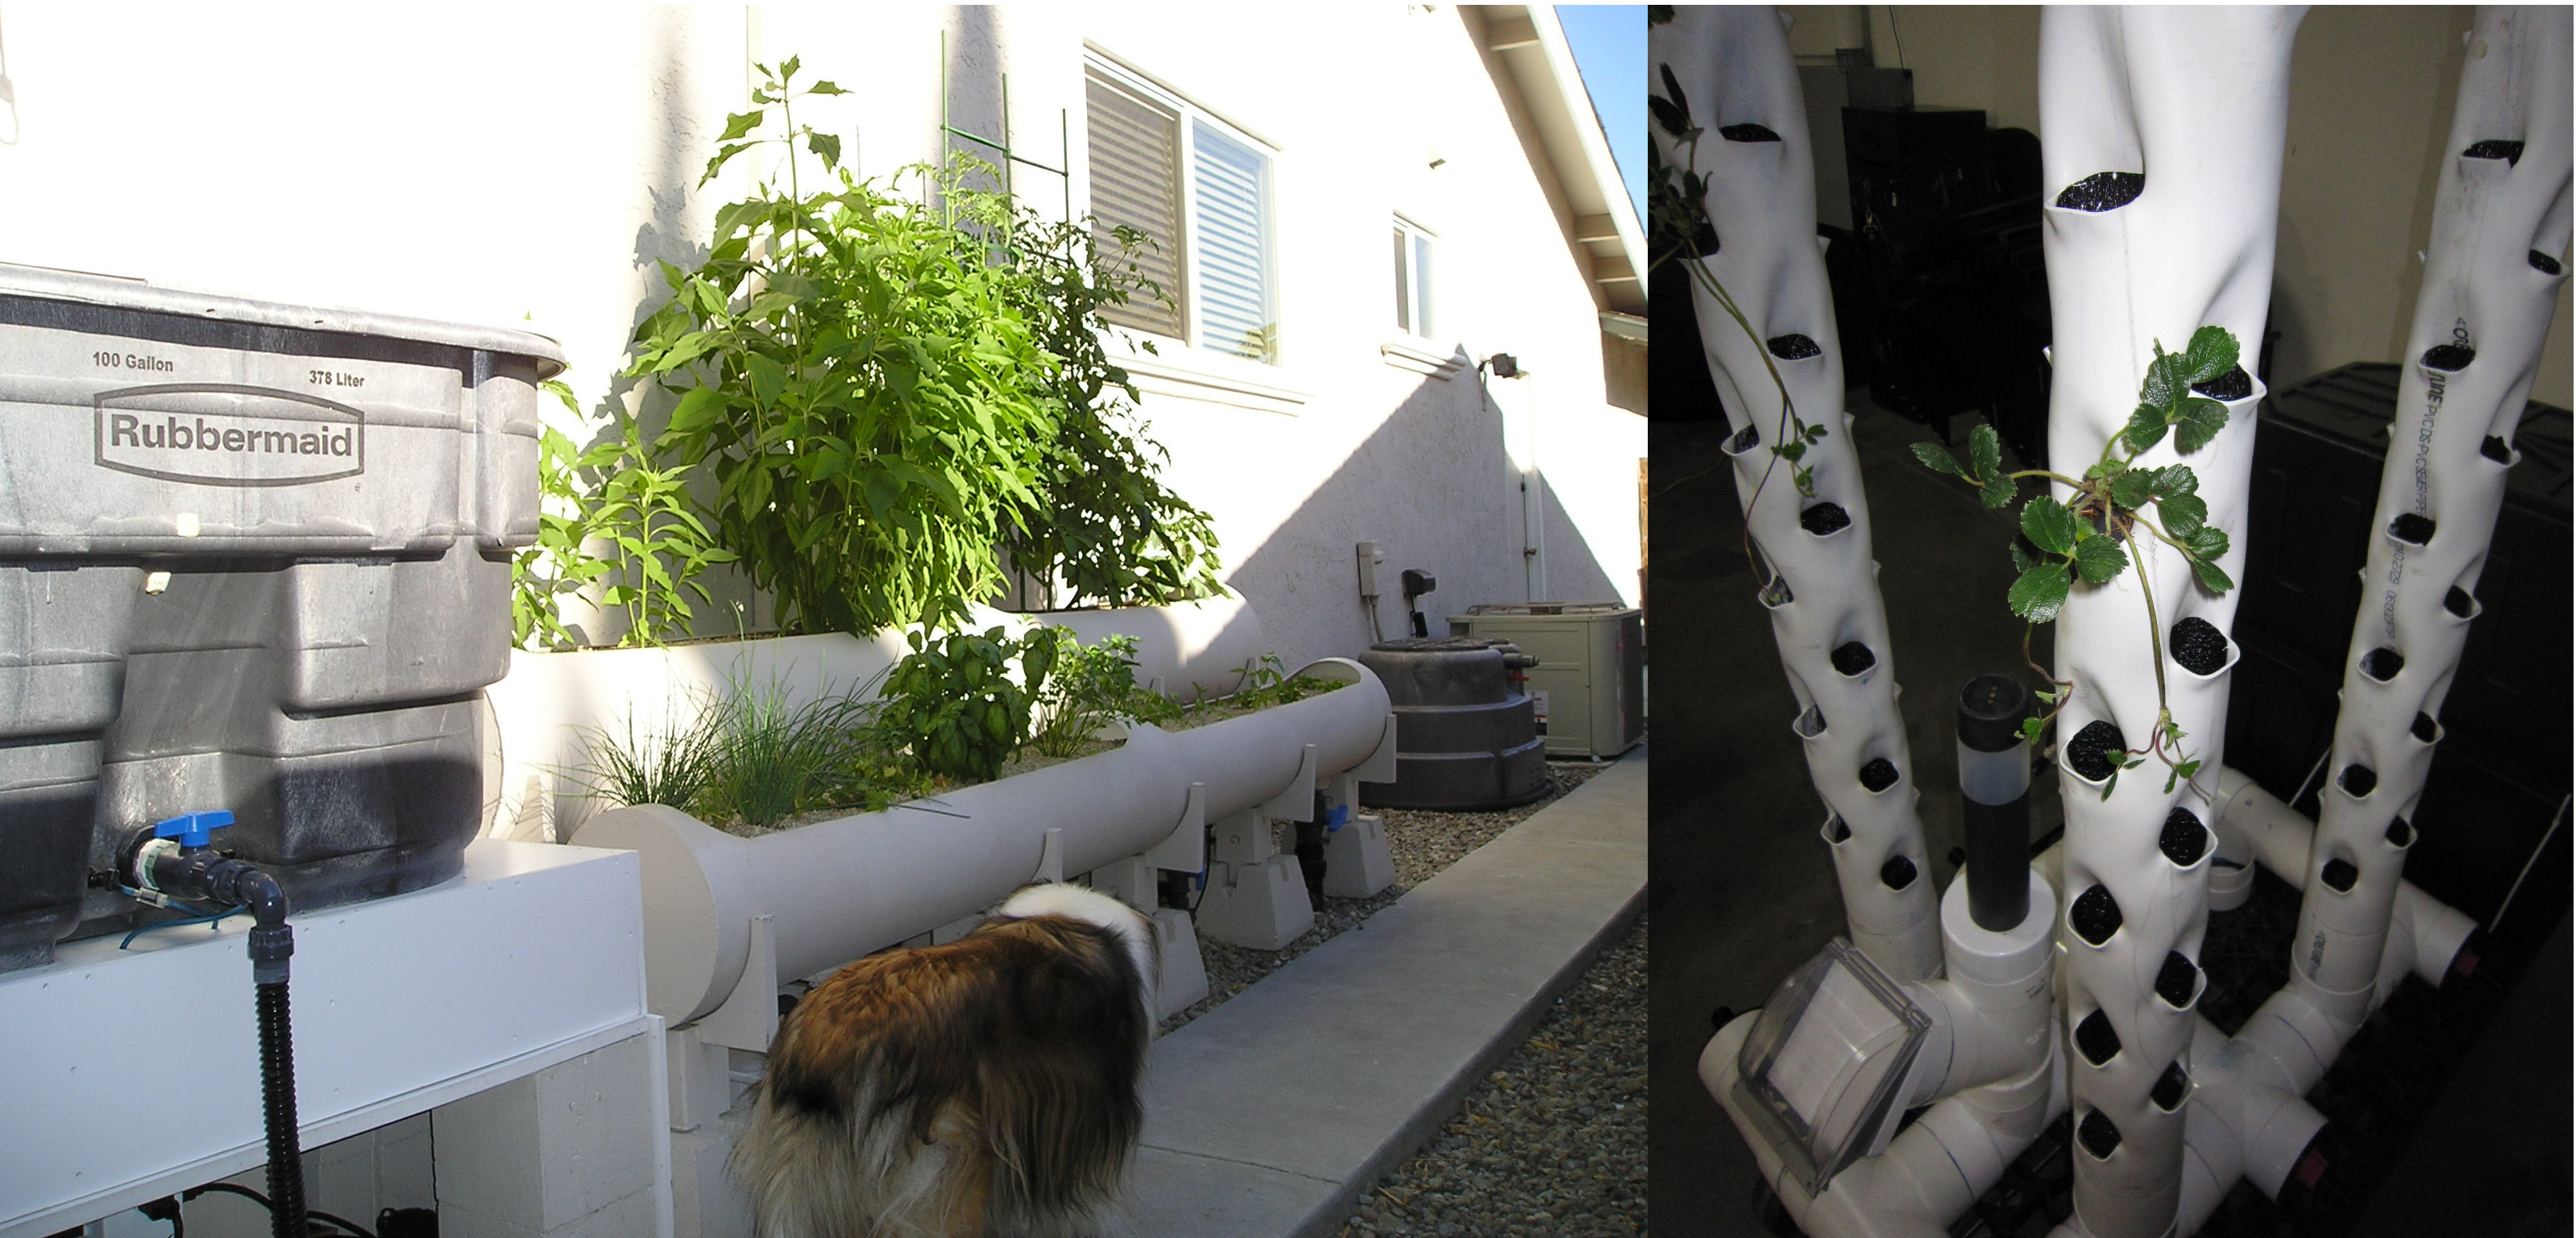
With the right combination of smart gardening tools, you can optimize energy use in your garden, saving water, power, and money. Your garden will grow better. Smart gardening devices know how to optimize your garden, ensuring your plants have just the right balance of nutrients, light, water, and more to grow in the perfect way. This instructable is a guide for setting up an automated gardening system using an arduino and other cheap electronic parts. It allows sustainable gardening by using sensors to determine soil moisture, as well as a webscraper to determine future weather. It uses this information to save water by only using the requisite amount. Using It. To use this contraption, I set it outside, near my garden beds, pointed towards the plants. Then I inserted the soil moisture sensor into the garden soil and added power. The whole system worked wonderfully, as it was able to automatically switch on or off depending on the weather and I could see the data in real-time.
